When it comes to camping, one thing causes confusion amongst beginners: setting up a tent by yourself!
If you’ve never set up a tent by yourself, you may be asking yourself if it’s as obvious as it sounds. Tents are a great thing to have when you go camping. Setting it up can be easy, but having some help never hurts.
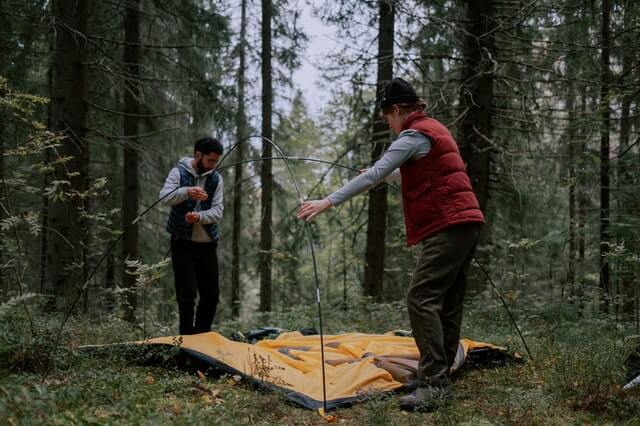
Unfortunately, setting up a tent cannot be very easy, especially if it’s your first time. But if you follow these simple steps, you’ll be able to have yourself a great tent!
This guide shows you how to set up a tent by yourself in minutes!
Assuming you have all the necessary gear to start
Unless you’ve spent countless hours in a professional camping shop, you should consider setting up your tent yourself. While you can follow the instructions on the package, you should practice on your own.
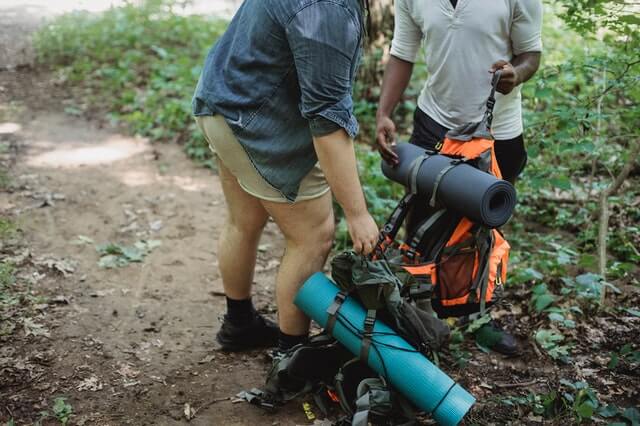
Practicing in your own home includes a low-stress environment, which is not the case when you’re in the middle of an epic hike. You also avoid confusion and possible damage to tent parts by reading the instructions in advance.
If you’re unsure how to assemble a tent, you can always replace missing parts before leaving on your trip. Finally, pack a copy of these with you to avoid losing your tent’s instructions.
Besides having all the essential gear to begin setting up a tent, you can practice on your own first before venturing out into the wild.
First, you should consider where you plan to pitch your tent. Make sure you’re far enough away from trees or water sources to minimize the risk of falling branches and other hazards. Consider your lighting options. You might need a lantern or free-standing light, so check the location beforehand.
Choosing the perfect tent ground
Choosing the perfect ground for your tent is a crucial aspect of tent camping, and it can make all the difference between an enjoyable or painful experience.

The ideal spot for your tent is flat, level, and free of debris. If you pitch it on a slope, it will probably roll to one side when you’re sleeping. Also, the ground you choose must be big enough for the tent you plan to use.
Again, practice is essential, especially if you’re new to tent camping. You can easily overestimate your tent’s size or the spot it requires.
Choosing the perfect ground for your tent can help you save money. First, check whether the ground is soft or hard. If the soil is soft, you can add pine needles or leaves underneath the tent to help it stay dry. If the ground is hard, you can lay a tarp on top of the earth.
A tarp that is slightly smaller than the tent’s footprint will help prevent water from seeping into the tent.
Cleaning and cushioning the ground
Clean or remove any big rocks and sticks from the place where the tent will be. If you have straws or soft grass or thin branches, you can use them for cushioning the ground.

You can purchase a cheap mat or rug from a dollar store or buy it in a camping store, but finding a suitable size can be tricky. Carpets or rugs can make the tent’s floor more comfortable and soften the ground.
If you’re setting up a tent by yourself, you can also use a yoga mat to keep your feet warm. If you’re not comfortable with the expense of a mattress, a yoga mat can work as a good bed.
Lay a tarp or other protective material
Before setting up your tent, it’s essential to know how to lay a tarp or other protective material.
You can use a trekking pole or other lightweight tent-style poles. Sticks also work well for pitching a tarp. Tarp pitching poles allow you to create an infinite number of pitch configurations.
One of the most accessible tarp pitches to set up is the half pyramid. This pitch style is roomy and straightforward and requires only a few stakes, guy lines, and poles.
Tarps are an excellent choice for setting up a tent by yourself, as they are more durable than a tent. A tarp is better than a tent, as it doesn’t have the floor and can’t be easily damaged by wind or rain. However, it will not protect you from animals and insects.
Therefore, it would help if you also considered adding a bug net or bivy sack under your tarp to ensure you have a comfortable, bug-free sleeping experience.
Laying out the tent’s foundation over the tarp
Using a tarp as your tent’s footprint can save you money and a lot of time while camping. However, while tarps are more sturdy and durable, they tend to be bulkier and can catch water.
To prevent this problem, you can fold the tarp underneath your tent. Besides, it will keep the tarp intact. If you don’t fold it properly, you may risk “fraying” it. Also, cutting the tarp may result in water pooling on the tarp.
The tarp will level out the ground beneath your tent and protect the base from the elements. Choose a size that is slightly larger than the base of your tent. Excess tarp can collect water when it rains.
Fold it up and tuck it under the tent when not in use. Then, begin to unfold the tent by laying out the base. Next, layout the windows and doors.
Connect the tent poles and add them to the flaps
Most basic tents have two poles that cross, which form the main frame of the tent. The tent poles are then connected to plastic clips at each corner and slid into small flaps on top of the tent.

A few of the larger tents will also have additional poles that you can connect. In most cases, you can join the tent poles yourself, but if you’re unsure about the process, you can ask someone to help you.
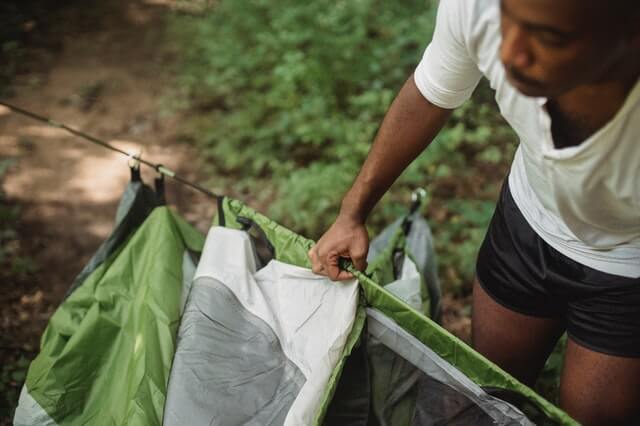
Once you have all of the tent’s parts, you can begin raising the tent. Again, using your partner to help you raise the tent is a good idea.

Once you’ve got the tent raised, the poles should bend naturally, but it may take some coaxing. Be sure that the corners are square and no tangles or kinks in the tent poles.
Raise the tent and insert the poles into the holes
When you’re ready to pitch your tent, make sure it’s level. Then, put stakes around the corners.
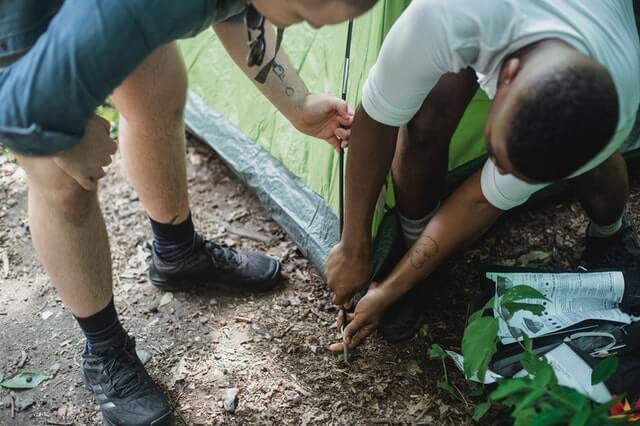
Next, insert the poles into the holes and raise the tent. Make certain the center pole is upright, and add the side poles. Then, tie the ropes to the studs and retainers in the side poles.
If you’re using a large dome tent, measure it from the top of the poles, which is usually four feet up. In addition, if you’re adding a prominent “BC” sunshade, you may need to measure further down.
Anchoring the tent with stakes
A fundamental part of camping is anchoring your tent with stakes.
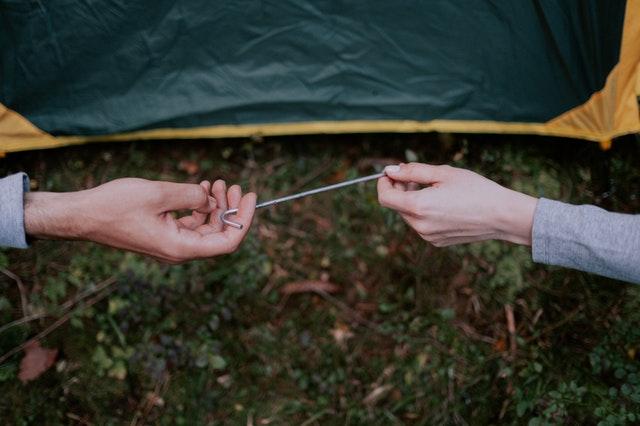
Stakes are designed to hold the tent securely on the sand-covered ground, but you can also use them in other climates, including those with a high degree of softness or water.
When you want to anchor your tent, you need to know how to install them properly. You first need to dig a hole about one to two feet deep and six inches wide to do this. Then, attach the straps to the top of each stake. Once you’ve anchored your tent, tie the canopy to the line of the stakes.
Typically, you need at least two anchor points to anchor your tent securely.
Stakes can be either stakes or weights. For the latter, you can use stakes made of sticks or wood. Aim for one anchor point every foot of tent length and leave three to four inches of space between them and the ground.
You can buy stakes from a hardware store or make them yourself. Just be sure to drive them a couple of feet from the tent poles.
Place the rainfly
Before you start setting up your tent, you should cover all the tent parts, including the rainfly.
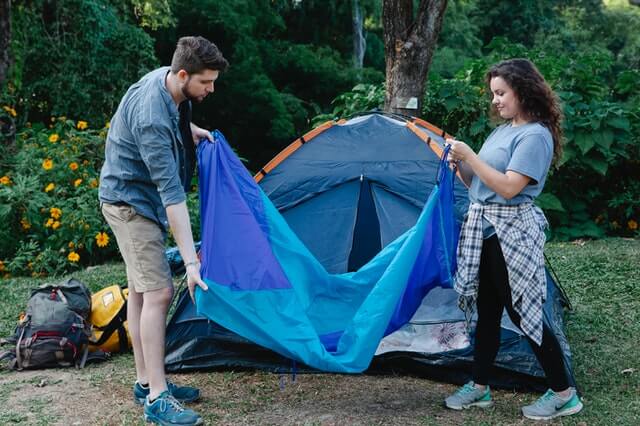
When setting up your tent, you can also do a smart camping trick: pitch the outer material first to install the inner fabric. That way, you will have a dry interior. You should also set up the rainfly the same way as the main fabric.
After ensuring that the poles are in place, you can attach the rainfly and stake it down. Next, you must use guy lines, strings attached to the rainfly.
Secure the tent with guylines
If you’re not confident enough to tie a mainline to a tent stake, you can use a trekking pole to secure the tent. This option is not as difficult as it sounds and can be very effective if you’re camping alone.
Guy lines add extra rigidity to your tent, which efficiently sheds water. They also prevent the rainfly from flapping in the wind.
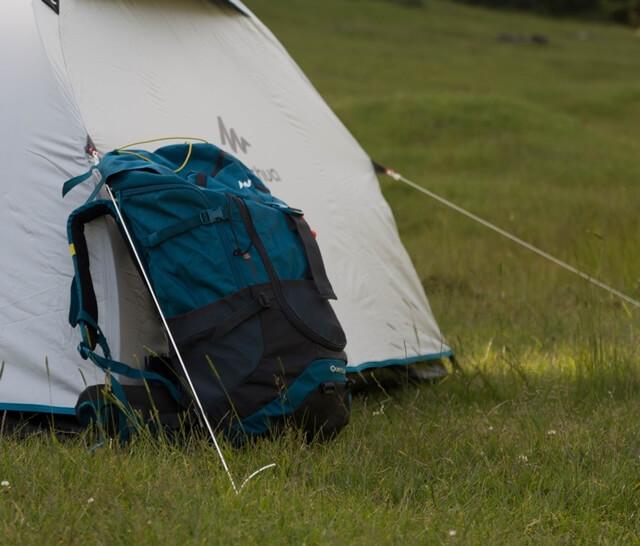
The guylines need to be attached perpendicular to the tent stakes and the tent’s guyout points. If you don’t have enough guylines, you can buy a length of extra string and make them longer if necessary.
If you are a novice to tent-securing, you can use guylines instead. A guyline is a piece of string or cord that runs along the bottom of a tent, providing extra support to the tent frame. It also provides additional stability during high winds.
Moreover, using guylines improves air ventilation, as they add extra tension across the tent.
You can also use reflective guylines, which are available in different colors. Besides enhancing visibility, they also reduce tripping hazards and can be easily replaced if they become damaged.
Some tents come with guyline attachments on the rainfly cover. Pull them out and tie them to these guyout points. Alternatively, you can use nearby trees or logs or stake them into the ground.
It is essential to secure a tent with guylines when camping, as a weak system will not withstand strong winds.
Tips for improving the camping experience and safety
It’s time to set up camp! But wait… are you doing it right?
We know the feeling. You want to get all cozy in your tent, but you’re unsure how to do it. You’ve got all these instructions in front of you, and you’re unsure which ones to follow.
Here are our tips for improving the camping experience and safety.
First, make sure everything is clean before you begin. If there’s dirt or sand inside the tent, clean it off with a wet towel.
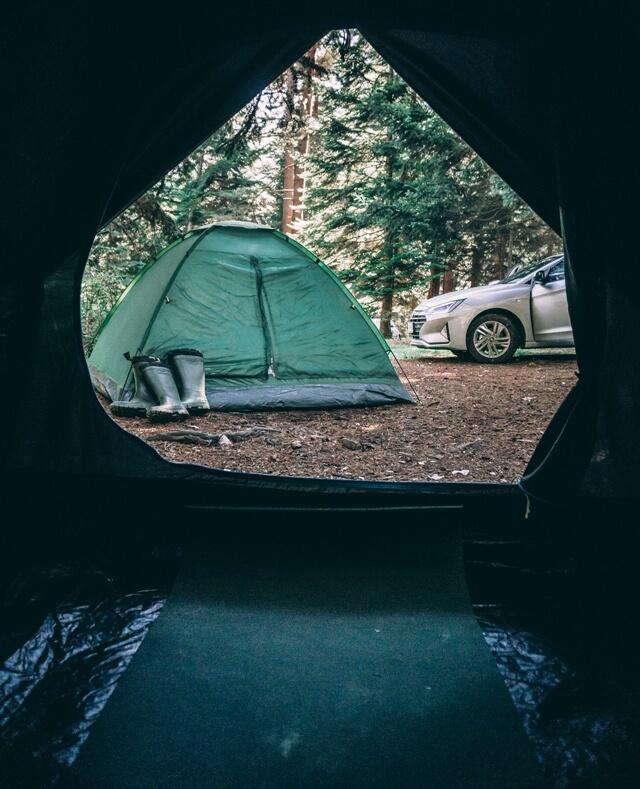
Next, lay out your sleeping bag, pillows, lights, phone, coffee and blankets to make them easily accessible when you need them later in the day (or night).
Do not let food or trash outside of the tent or even inside. Better close it in the car or hook it up on a tree to avoid bears and other animals to come.
Put on sunscreen before heading outside—it can take up to 20 minutes for sunscreen to fully absorb into your skin!
And finally, once the tent is up, check all of its seams for leaks or holes by spraying water onto them from outside the tent. If there are any leaks (and there probably will be), fix them before getting inside. Once inside, check out any other potential problems like loose stitching or poorly-sewn seams.


