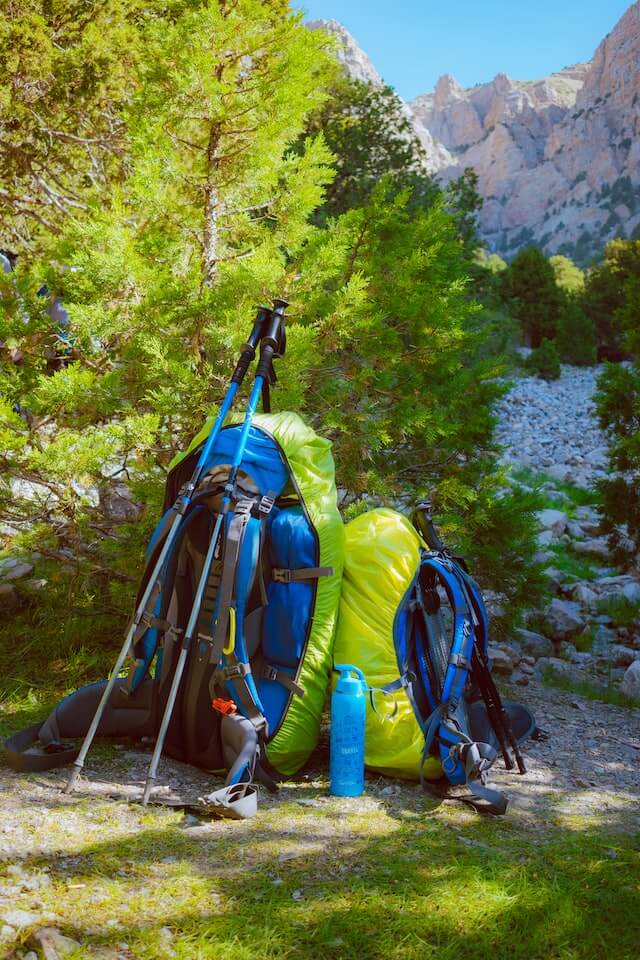
Understanding how to pack your backpack before a hike is one of the most essential things to learn. Learning how to properly pack your hiking backpack will enable you to bring more essential things with you, and also you to unpack and remove certain items more efficiently.
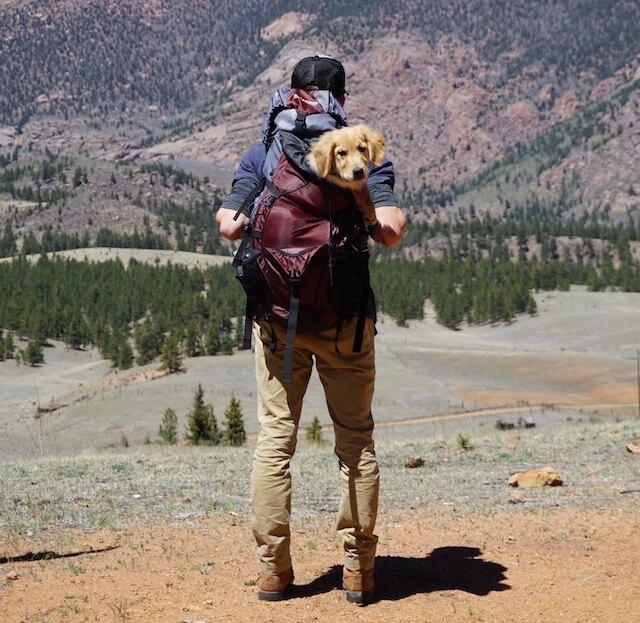
Additionally, improperly packing your backpack can lead to excess strain on your back as well as imbalance, so it’s important to do it the right way. In this article you are going to learn everything you need to know about packing your backpack for maximum efficiency, as well as comfort.
Read also our guide for the best hiking backpacks.
How to Avoid Overpacking
It’s extremely easy to overpack for your hiking trip as you know you’ll likely be in the middle of nowhere most of the time and not have access to buy much.
One of the easiest ways to avoid overpacking is to lay all of the items you’re considering bringing around your backpack before packing them. Separate them into two piles: essentials and nonessentials.

Once you’ve gathered all of the nonessentials in one area, you’ll be able to better focus and consider eliminating them. It’s important to note that you should never pack your backpack to full capacity, always leave yourself room for extra items you may collect along the way.
Main Packing Structure
There are two main things to consider when packing your backpack for your hiking trip. When looking at all of your items for the trek, ask yourself two questions; how much does the item weigh and how often are you going to have to use it? Now we can divide the backpack into 3 main zones: the bottom zone, middle zone, and top zone.
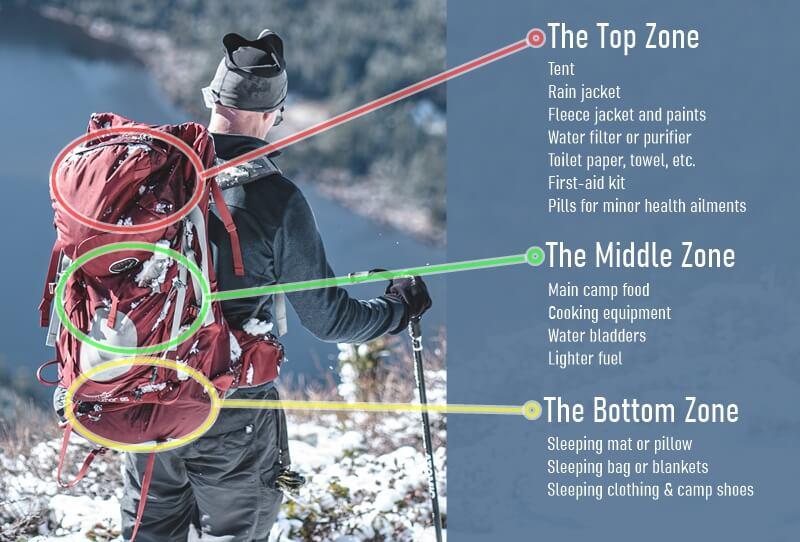
The Bottom Zone:
The bottom zone of your backpack will be the first thing you pack and the last thing you’re able to unpack. It is good to place bulky, squishy, items that can compress, as well as items that you won’t be using until you set up camp.
Items in This Zone May Include:
- Sleeping mat or pillow
- Sleeping bag or blankets
- Sleeping clothing and camp shoes
The Middle Zone:
Reserve the middle zone of your backpack for heavy and dense items that you won’t need to access while hiking. Ensure that while packing this zone you keep the items as close to the back panel of your backpack as you can and keep them as centered as possible.
Items in This Zone May Include:
- Main camp food
- Cooking equipment
- Water bladders
- Lighter fuel (ensure the cap is on tight and the container is placed upright)
The Top Zone:
The top zone of your backpack is for your trail essentials, whether they’re bulky or lightweight. This is reserved for items that you may need to have easy access to while on your trek. Place these items around all of your heavy gear from the middle zone to ensure that the heavy items don’t shift to the front panel of your backpack.
Items in This Zone May Include:
- Tent (some people may keep their tent in this zone incase of inadequate weather on the trails)
- Rain jacket
- Fleece jacket and paints (additional layers)
- Water filter or purifier
- Toilet paper, trowel, or used toilet paper bag
- First-aid kit
- Pills for minor health ailments (headache, upset stomach, etc.)
Additional Zones:
Most hiking backpacks offer additional interior and exterior accessory pockets, as well as exterior tool loops.
The Accessory Pockets:
Accessory pockets are good for additional trail essentials as well as to simply organize your smaller items that may get jumbled up and lost within your backpack.
Items in This Zone May Include:
- Navigational tools (maps, gps, compass, etc.)
- Sunglasses
- Sunscreen and bug spray
- Snacks
- Headlamp
- Lip balm
- Water bottle
- IDS, cash, and car keys
The Exterior Tool Loops:
Exterior tool loops, otherwise known as “lash-on points”, offer convenient fasteners that allow you to hold gear that you wouldn’t be able to fit in other places.
They also allow for extremely easy access to the items as you simply unfasten, and pull out of the loop. One concern with storing too much on exterior tool loops is the fact that the gear is out in the open, leaving it exposed to the elements, as well as enabling it to get snagged by branches or rocks easier.
It’s important you don’t plan to store too much outside of your backpack in order to avoid losing or damaging items.
Items in This Zone May Include:
- Camp chairs
- Trekking sticks or poles
- Tent poles
- Ice ax or crampons
- Climbing ropes
Safely Lifting Your Backpack
Once you’ve finished packing your backpack for your trek, it’s equally important to know exactly how to lift up your backpack. Hiking backpacks are often extremely heavy, and lifting them improperly can harm your back or cause you to pull a muscle, the last things you want to do while on the trail.
Whether your hiking backpack is high quality or not, lifting your backpacks the wrong way can also lead you to damaging the bag itself. Follow these steps in order to lift your backpack in the best way possible:
Step by Step Guide on packing a backpack
- Loosen all of the straps on the backpack in order to make it easier to slide on. This will help reduce your risk of injury as you won’t need to twist and turn as much.
- Push your backpack into an upright position.
- Stand with your legs apart and your knees slightly bent and pull from the webbed loop at the top panel of the backpack, do not pull from the shoulder straps.
- Bend your knee and slide the backpack up your leg, with the top of your leg acting as a shelf for the backpack.
- Proceed to slide your arm and shoulder through the shoulder straps as far as you can.
- Swing the rest of the backpack onto your back, and slip your other arm through the shoulder straps.
- While still leaning forward, secure any belts or fastenings on the backpack.
- Stand up and make any minor adjustments that are needed.
Now that you know everything there is to know about how to pack your backpack for hiking, you’ll be able to safely and efficiently explore wildlife and nature wherever you desire.
Frequently Asked Questions
Q: How can I reduce pack weight when hiking?
A: Reduce pack weight by evaluating each item’s necessity, opting for lightweight gear, minimizing clothing, packing travel-sized toiletries, and utilizing water sources or filters. Prioritize functionality and weight when choosing what to pack.
Q: How do I prevent blisters when hiking?
A: Prevent blisters by wearing well-fitting, moisture-wicking socks, breaking in hiking boots, using blister-specific patches, keeping feet clean and dry, and promptly addressing any discomfort or hot spots.
Q: How should I adjust and fit my hiking backpack?
A: Adjust and fit your backpack by tightening the hip belt snugly, adjusting shoulder straps for comfort, tightening load-lifter straps, stabilizing with the sternum strap, and fine-tuning tension for a balanced and secure fit. Test the fit with short walks and make adjustments as needed.
Q: How much weight should I carry in my hiking backpack?
A: Aim to keep your total pack weight, including food and water, below 20-25% of your body weight. Pack only essential items, choose lightweight alternatives, and gradually increase weight during training hikes. Listen to your body and adjust weight to avoid overexertion.