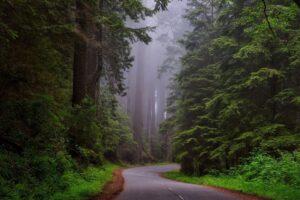
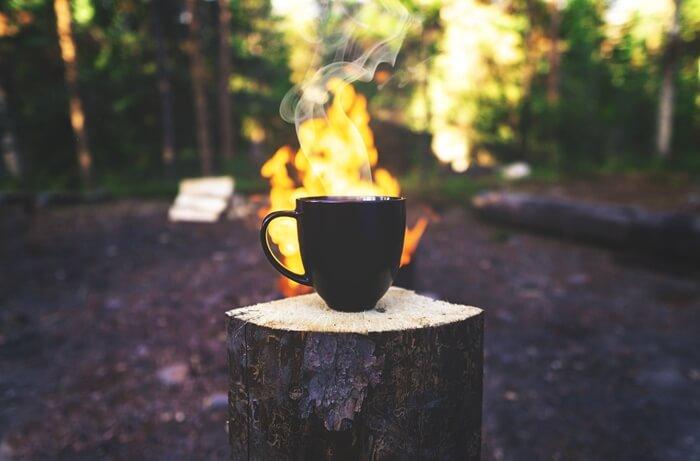
Are you really camping if you don’t wake up to enjoy a morning coffee while taking in the fresh mountain air? For many, coffee is a camping necessity and without that morning cup, the day will not be off to a great start. It’s as Justina Headley said, “adventure in life is good; consistency in coffee even better”. We want to make sure to avoid any ruined camping experiences and have put together a comprehensive guide on how to prepare that perfect cup for your next outdoor adventure!
Brewing a good cup of coffee is more than just a simple mundane task but an art form and requires the necessary tools and skill to properly execute. Therefore, in this article, we will provide you with 6 of the best ways to brew that perfect cup of joe and infuse your body with all its caffeinated goodness.
Choosing the Perfect Coffee Beans
Coffee is prepared in hundreds of different ways and across hundreds of different cultures. The palate of one person is not going to be the same as another. That being said, the first step to brewing the perfect cup of coffee is to choose a coffee bean that creates a taste well suited to your palate. This may take some experimentation if you’re new to coffee or brewing it yourself.
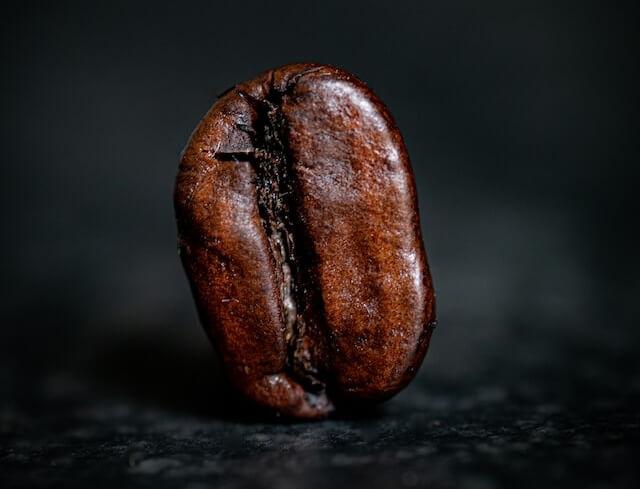
Nonetheless, coffee can be distinguished between the 3 different ways of roasting coffee beans: Light, Medium, and Dark roasted coffee. The way in which coffee beans are roasted will have major implications on their overall taste and quality after being brewed.
Light roast coffees
can be identified through their beans’ light brown coloring and the lack of oil around their surface. The result is a coffee that will be more acidic than its darker counterpart. Light roast coffees have the highest concentration of caffeine and are great for campers that need a hefty boost of liquid energy before starting the day.
Medium roast coffees
are darker than light roasted beans and are slightly larger in size. As the name implies, it will have a medium amount of caffeine and the roasting process will start to impact the final taste of the coffee. This means the acidity of the final product will be more of a balance between what would be the case in a light and/or dark roast.
Dark roast coffees
have a very dark color and slightly glossy look due to the oils on their surface. It will often have a very smoky and bitter taste compared to a light or medium roast. This style of roasting will produce beans with the least amount of caffeine but when properly prepared still make for a delicious cup of coffee!
Grinding Coffee Beans
Almost every way of making coffee will require the beans to be ground. This can be done either on your camping trip or at home before heading off on your adventure. If you decide to grind your beans when camping, then a simple hand grinder should be enough to do the trick!
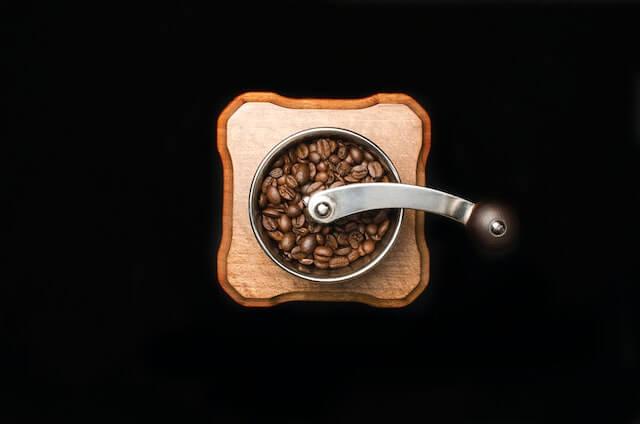
All that’s required is to measure out your desired amount of coffee and toss the beans into the grinder to be broken down into a powder. The texture of the powder will have an effect on its final taste. Here is an important equation to memorize:
Finer Grind = Sourer and better for Espresso
Coarser Grind = More Bitter and better for filtered coffee
A good drip coffee should land somewhere in the middle of the two. It may take some practice before finding the perfect texture but that’s part of the learning process!
Some hikers will choose to grind their coffee at home and pre-package it in small plastic bags to be used on their camping trip. This way the coffee grind can be measured and weighed to the proper amounts and then stored in each small bag for use later. Just make sure to seal the ground beans in an airtight container to avoid any contamination.
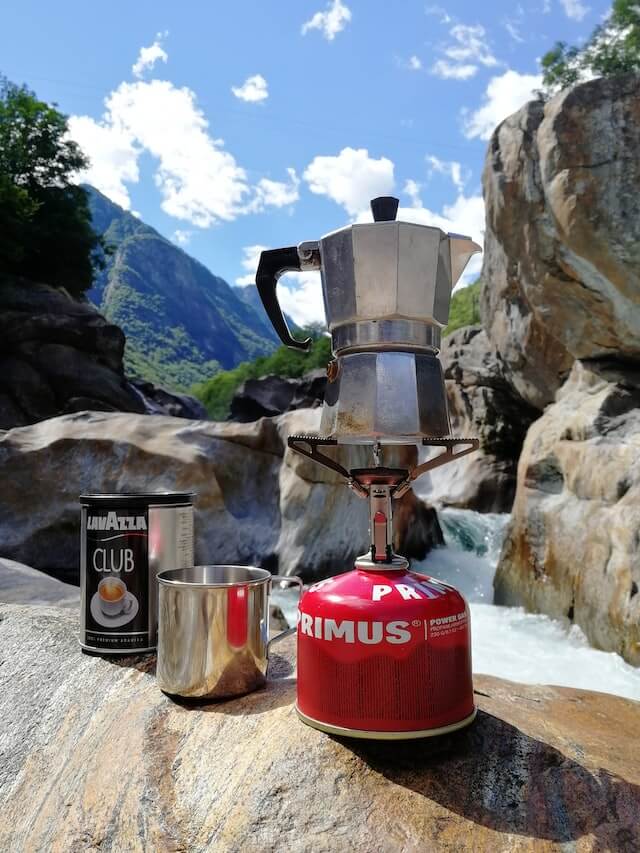
Heat & Water
The majority of coffee brewing methods on this list will require a heat source to be prepared. This can be done through something like a portable gas-powered stove top or a simple camping fire, depending on the location and campground you’re staying at. If you opt to light a fire, then make sure you’re aware of any restrictions in place and ensure it’s been fully extinguished after you’re done.
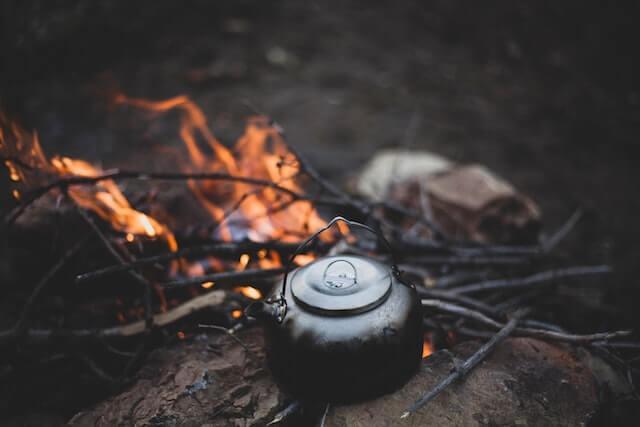
Water is another necessary element in brewing coffee. If you don’t want to travel with water brought from home, then a nearby stream or lake is an option. However, it’s important to take water from a moving source and purify it to remove all bacteria before consuming it. This can be done with the use of a purifier or water purification tablets. Boiling water is another excellent way of purifying water without changing its taste. The boiled water will still need to be filtered to remove any left-behind sediment.
Other Suggested Items:
A Kettle or Pot
You will need to boil water before making your coffee and a kettle or pot is a great way of getting this done. A pot might be the better option because it has multiple uses and can help to brew your coffee but also prepare your meals.
A Mug or Thermos
A mug may feel like the classic choice, but accidents happen, and you don’t want to end up without a cup to drink from. A thermos is great because it’s less likely to break if dropped and can help by keeping your coffee warm for a longer period of time.
Measuring Cups or Scales
Brewing the perfect cup of coffee is very much based on personal preference and some people like to get more scientific than others. If you’re not a fan of the ‘eye-balling it method’, then measuring cups and a scale could be an important addition to your travel pack.
Sugar or Milk
A good cup of coffee doesn’t mean it can’t have any milk or sugar! It can be difficult to travel with fresh milk and keep it from spoiling, but powdered milk is easy to buy and can be stored in small packages to stick in the pocket of your bag alongside some sugar.
Additional Containers or Bags
Our environment is important and it’s our responsibility to properly dispose of any garbage or mess that we create. An extra container or bag can be used to store used coffee grind and filters until the next garbage can becomes available.
The Coffee Sock Method
What do you need: Coffee Sock, Kettle, Coffee Mug, Ground Coffee Beans
This is a coffee brewing method popular in countries like Cuba, Costa Rica, and Singapore. It has been used for decades by street vendors in these countries to sell delicious-tasting coffee to both locals and tourists. It’s also a great method for campers to prepare a cup on their travels.
The preparation process is very easy and requires little equipment to be completed. The first step is to place your coffee sock over the mug you want to drink from with the handle sticking out. A coffee sock will normally be attached to a small wire handle that can be used to move the sock before and after brewing. The desired amount of coffee grind is to be placed inside of the sock. The next step will require boiled water which can be made using a kettle or pot over a campfire. After boiling water, pour it into the sock with the coffee grinds and wait for it to slowly drip through. Afterwards, you can remove the sock using the handle and enjoy your coffee! This is an excellent method to make delicious coffee and requires little equipment to pack when camping.
A commonly asked question with this technique is if it’s necessary to clean the coffee sock after use. The answer is…it depends. Some people always clean the sock afterwards and others claim that leaving the sock unwashed will create a richer flavor the next time.
The Pour-Over Method
What do you need: Pour-Over Device, Kettle, Coffee Mug, Coffee Filters, Ground Coffee Beans
The Pour-Over method is another easy and common technique used by hikers when camping. To make this, you will need to start by boiling water over the fire with a kettle or some other tool that can be used to get this done. The next step is to place a filter inside the top of the pour-over device which will often resemble a small funnel.
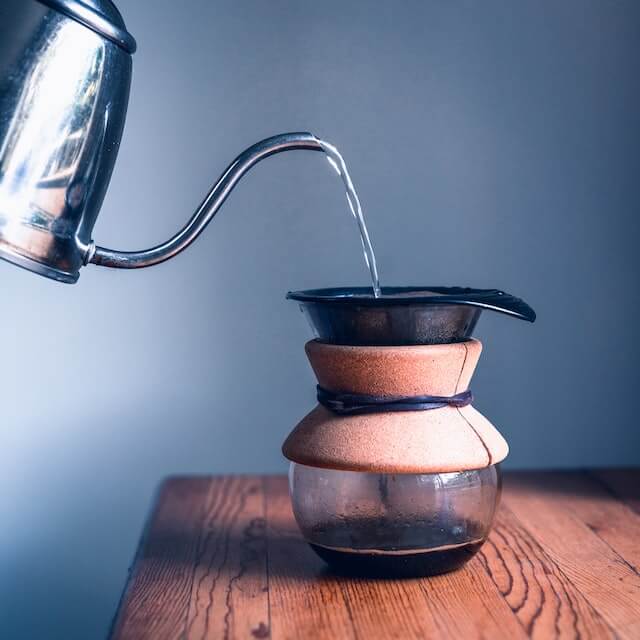
After placing the filter, put your coffee grinds inside and start by pouring a small drop of boiling water into the coffee to let it ‘bloom’. Following this, proceed to slowly pour a steady stream of boiling water into the filter and onto the coffee grinds. You want to be careful about making sure that you have poured water over all the grinds to ensure that all the coffee is being extracted.
The vast majority of filters are one-time use and will need to be properly disposed of afterwards, but the rest of the gear can be safely packed away for your next cup.
The Percolator Method
What do you need: Percolator, Coffee Mug, Ground Coffee Beans
The percolator method of making coffee is similar to what you might see in the movies or on a hallmark card. It uses a kettle-like device to boil water and creates a strong cup of coffee! The process is extremely easy, but it can be heavy to carry the percolator around on a camping trip.
All you need to do is pour water into the bottom chamber of the percolator and then you will need to pack coffee grinds into the percolator basket in the middle of the device. Next, place the basket of grinds on top of the water and screw the top chamber over everything else. The percolator is then placed on the fire or some hot coals to be brewed. Careful, the end result can be a deathly strong cup of coffee.
Unlike the two previous methods, the percolator can be difficult to clean but won’t require any coffee filters that need to be disposed of later.
The French Press Method
What do you need: French Press, Coffee Mug, Ground Coffee Beans
Despite the name, the origins of this coffee brewing method may have been invented in Italy and not France. But that’s a debate for another day. The French press technique creates a delicious rich-tasting coffee that makes the larger equipment almost worth the extra packing space.
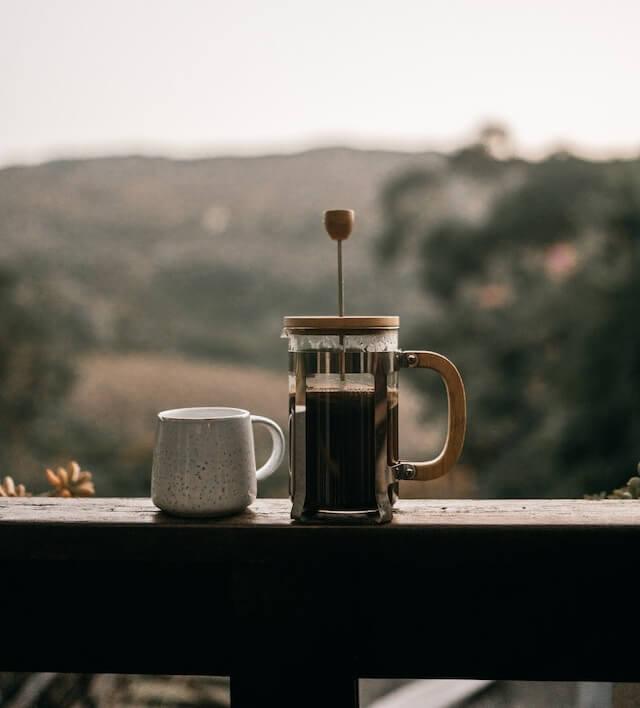
This plunger method of brewing coffee can be a bit more challenging but is more than worth the additional effort. The first step is to heat your water over the fire until it comes to a boil. The amount of water poured into your French press will depend on the amount of coffee you want to make. An easy ratio to follow is 1 cup of water to 2 tablespoons of coffee.
Next, add the coffee grinds into the French press and then pour the water in after letting it sit off the heat for 1-2 minutes. After mixing the two, thoroughly stir the water and coffee grind together and leave it too steep for approximately 3-4 minutes. Afterwards, slowly press down on the plunger to separate the newly brewed coffee and any residual coffee grind.
The Instant Coffee Method
What do you need: Coffee Mug, Instant Coffee Mix, Kettle
Now, I know what you might be thinking…this can’t be good coffee. The reputation of ‘instant’ anything has been questionable in the past but the instant coffee available today has vastly improved in taste!

This is perhaps the most convenient and easy option on this list. The beauty of instant coffee is that it can be prepared with or without boiling water. It is a simple two-step process. The first step is to choose an instant coffee pack and pour it into your coffee mug. Following this, add boiling or regular water and stir thoroughly.
This is a great option for campers who are in a more remote location or need a quick coffee fix without the hassle of having to boil water or wait for the coffee grinds to brew. The taste might not be as exquisite, but the effects should be the same!
The Cowboy Coffee Method
What do you need: Coffee Mug, Coffee Grinds, Kettle
You can’t discuss the many different methods of brewing coffee in the wild without mentioning the most classic one of them all. The cowboy coffee method is much like the scenes you would see in an old western film with cowboys and bandits. The steps are equally as simple.
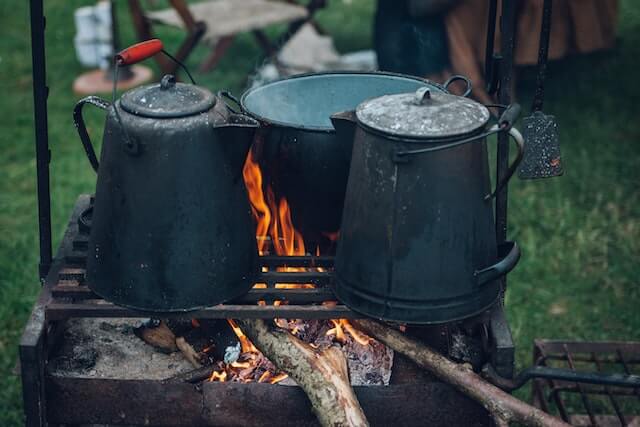
The only step is to pour some water and coffee grinds into the kettle and then set it on the fire or hot coals to brew. The coffee might not be the tastiest, but it definitely builds character. An experienced cowboy coffee brewer might skim some of the grinds that build up on the top before pouring it into their mug, but we’ll let you make that decision.
A coffee when camping is a great way to boost your energy and take in all that mother nature has to offer. These are only 6 of our favorite ways to get your coffee fix and have fun in the process. Don’t be afraid to experiment and try new techniques to brew the perfect cup and share your findings in the comments!
Frequently Asked Questions
Q: How can I make coffee when camping without access to electricity?
A: When camping without access to electricity, there are various methods to make coffee. One popular option is using a camping percolator or a French press. These devices allow you to brew coffee using hot water heated over a campfire or a portable camping stove. Another alternative is using single-serve coffee bags or coffee pods designed for camping. Simply pour hot water over the bag or insert the coffee pod into a portable brewer, and you’ll have a convenient cup of coffee in no time. Additionally, you can explore the traditional cowboy coffee method by boiling water with coffee grounds in a pot and then allowing it to settle before pouring into cups. These methods ensure you can still enjoy a hot and satisfying cup of coffee while immersing yourself in the outdoor experience.
Q: What are the best types of coffee to bring when camping?
A: The best types of coffee to bring when camping are those that offer convenience, durability, and great taste. Opt for coffee options that are pre-ground, as it eliminates the need for coffee grinders while camping. Look for brands that specialize in producing coffee specifically for outdoor enthusiasts, as they often offer lightweight and compact packaging suitable for camping. Additionally, consider single-serve coffee bags, coffee pods, or instant coffee for their convenience and ease of preparation. Don’t forget to choose coffee that suits your personal taste preferences, whether it’s a bold dark roast, a smooth medium roast, or a flavorful flavored blend. By selecting coffee that aligns with your camping needs and preferences, you can enhance your outdoor coffee experience.
Q: How can I keep my coffee hot while camping?
A: Keeping your coffee hot while camping can be achieved by using insulated travel mugs or thermoses. These containers are designed to retain heat, keeping your coffee warm for an extended period. Look for mugs or thermoses with double-wall insulation and secure lids to prevent heat from escaping. Preheating the mug or thermos with hot water before pouring in the coffee can also help maintain its temperature for longer. Another option is to use a portable camping coffee maker with a built-in thermal carafe, which can keep your coffee hot throughout the brewing process. By using insulated containers or specialized camping coffee equipment, you can savor your coffee at the desired temperature even amidst the cool outdoor environment.
Q: How do I clean my camping coffee equipment?
A: Cleaning your camping coffee equipment is essential to ensure hygiene and the longevity of your gear. After each use, rinse out the coffee maker, percolator, French press, or any other brewing apparatus with hot water to remove residual coffee grounds. For stubborn stains or odors, you can use a mild soap and a non-abrasive sponge or brush to clean the equipment thoroughly. Rinse off the soap residue and allow the equipment to air dry before packing it away. If you’re camping in an area without access to running water, consider bringing biodegradable coffee equipment cleaning solutions or wipes specifically designed for camping. Proper cleaning and maintenance of your camping coffee gear will ensure that you can enjoy fresh and flavorful coffee on all your outdoor adventures.